Astra Haven Help Center

Complete Colony Guide · by Frau LLC
Guide: Gameplay
Patterns: 4 / 5 / 6 / 7+
Objectives: Full Directory

Colony Guide

Learn how to play Astra Haven: Colony Command: battle basics, mission HUD, objectives, PLASMA BURST / GRAVITY TRAP / MEGA BLAST / STAR SURGE patterns, Convoy routes, Command Relay towers, Rescue Drop pods, Escort vehicles, blockers, boosters, Colony Command, and expedition strategy.

Home Support
01

Battle Basics

Core mission help: how to win, read the HUD, make moves, score, and use resources. Colony Command has its own section below.

⌄
Quick answerMatch tiles and finish the required mission goal before moves run out. Always check the HUD first so you know whether score, blockers, routes, Flux, relays, rescue pods, or the escort vehicle matters most.
Win Condition

Complete the Required Goal

Each mission has a main requirement. Reach the target score, destroy required blockers, open the route, recover Flux caches, power Command Relay towers, extract Rescue Drop pods, or guide the escort vehicle before moves run out.

Move Rule

Swap Adjacent Tiles

Drag or tap adjacent tiles to swap them. A legal move must create a match of 3 or more matching tiles horizontally, vertically, or as a recognized connected shape.

Performance

Stars & Rewards

Higher score, cleaner objective progress, and stronger mission performance improve star results and rewards. Big connects and cascades help push your score faster.

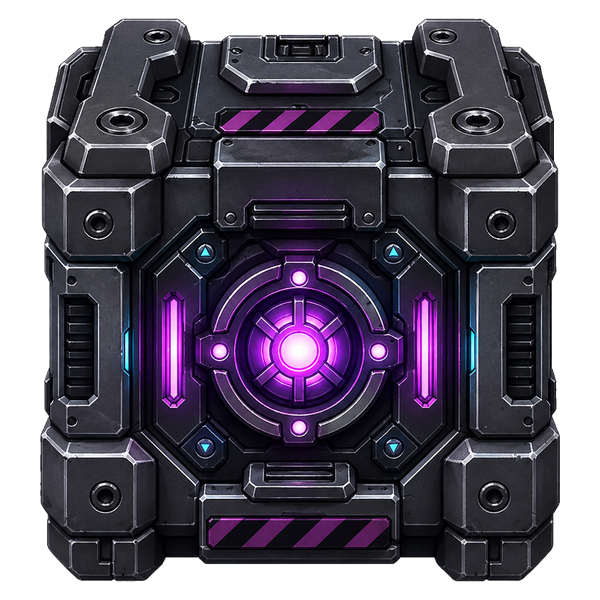
Plasma Burst tileMatch TilesUse real board pieces to create 3+ connections.
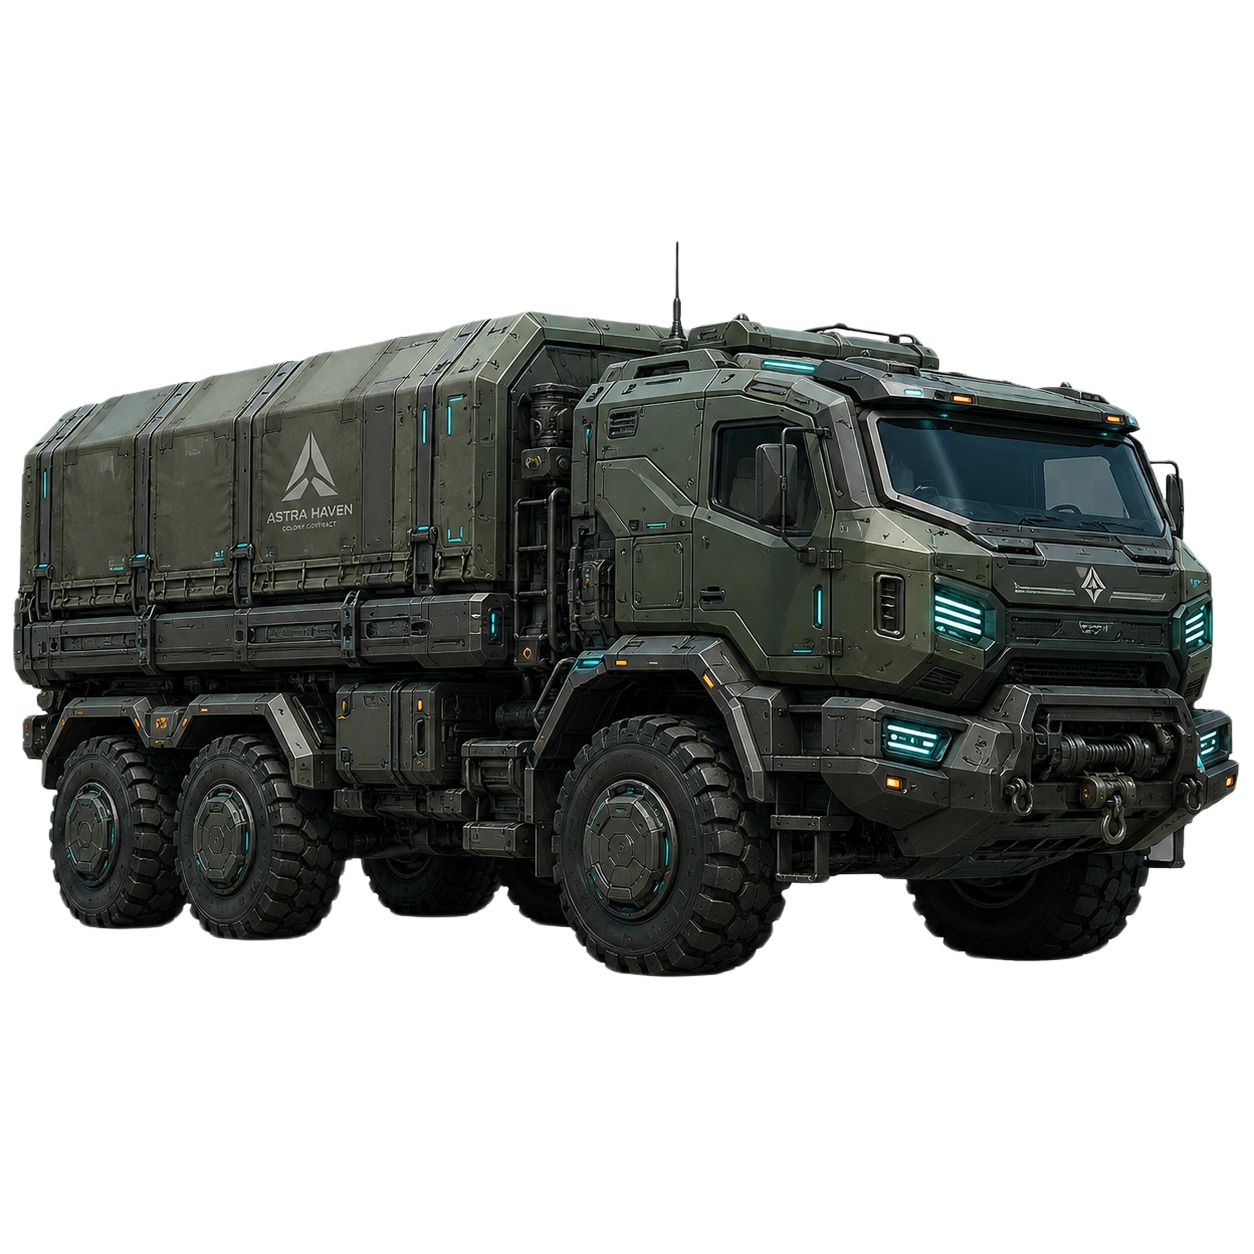
Convoy truckConvoy RouteOpen the route lane before moves run out.
Flux cacheFlux CacheClear or drop caches toward collection.
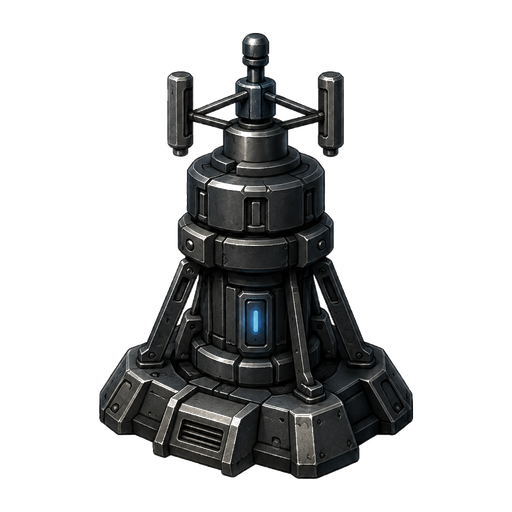
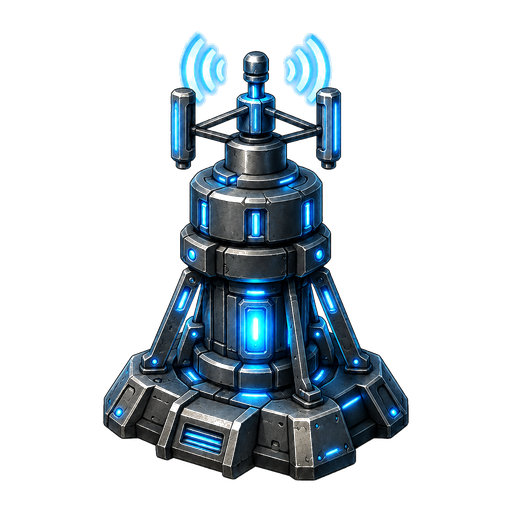
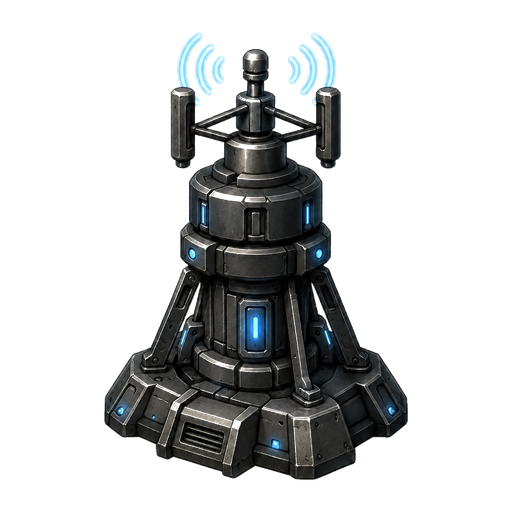
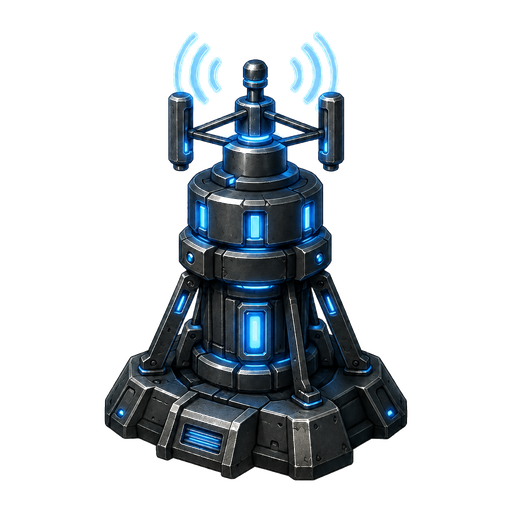
Command Relay towerCommand RelayCharge each relay from the four direct sides.
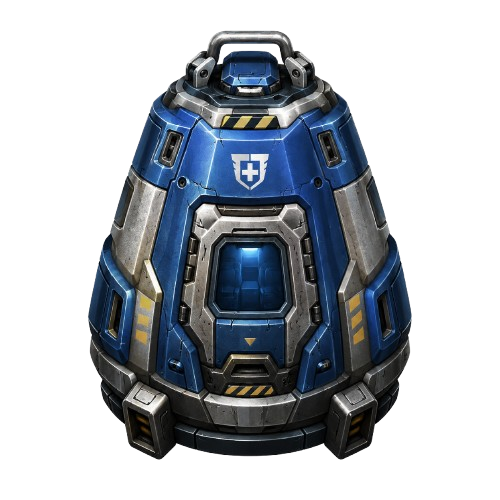
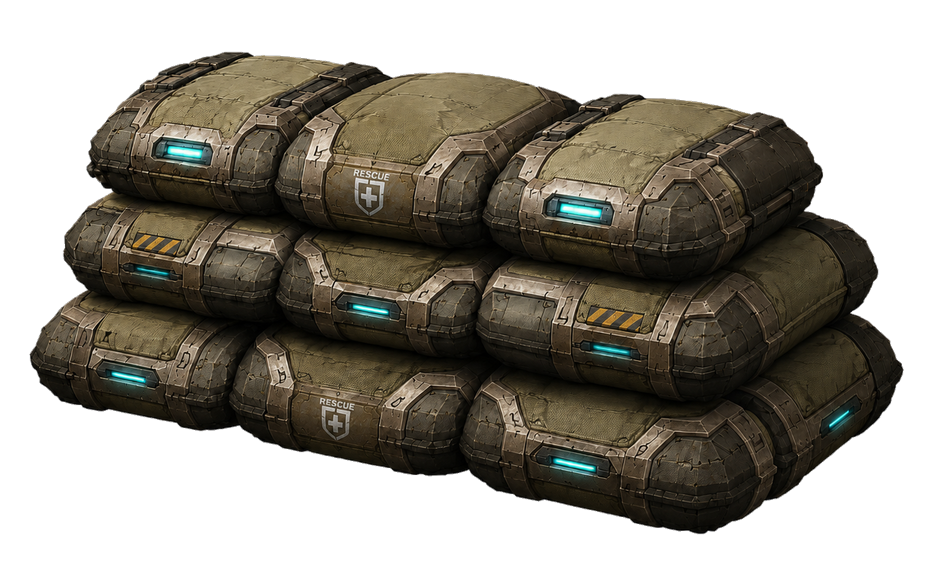
Rescue Drop podRescue DropClear below pods so they fall to extraction.
Evac rescue truckEvac RescueKeep the path open for the vehicle.
How To Win
Target ScoreOn score-focused missions, reach or exceed the Target Score before your move counter reaches zero.
Objective MissionsSome Assault or Derelict missions also require a specific objective, such as destroying blockers. In those missions, score alone is not enough if the required objective remains unfinished.
Command RelayPower every relay tower before moves run out. Only clears on the top, bottom, left, or right side of a relay charge it; diagonal clears do not.
Rescue DropExtract every required pod by clearing tiles below each pod so it can fall to the bottom extraction row.
Mission EndsA mission is safe when the required goal is complete. Bonus objectives can improve your result, but the main mission requirement is what determines the core win.
Do Not Waste MovesIf a move does not increase score, damage blockers, open a route, move the escort, recover Flux, or set up a strong special, it may cost you the mission later.
Reading The Mission HUD
Moves
How many normal swaps remain. Boosters like Swap or Clear Beam may avoid spending a normal move depending on the tool.
Target
The score or mission target you must reach. If the board also shows an objective label, complete that requirement too.
Stars
Your mission performance tier. More score and stronger objective completion can push the star meter higher.
Blockers
Tracks how many required blockers have been destroyed. Focus matches next to blockers to progress this counter.
Route
Shows Alloy Route / Convoy progress. Clear a connected lane from entry to exit so route tiles become open.
Flux
Shows recovered caches during Flux Cache Recovery missions. Clear the board around caches and keep collection lanes open.
Truck / Evac
Shows Escort / Evac Rescue progress. The vehicle advances only while its path remains open.
Relay
Shows Command Relay charge progress. The mission is complete when every relay tower is online.
PODS
Shows Rescue Drop extraction progress. The mission is complete when every required pod reaches the bottom extraction row.
Clear Beam
The in-mission meter charged by big connections. Match-3 does not fill it; bigger connects do.
Moves & Matching
Basic MatchA 3-match clears tiles and awards points, but it does not create an auto weapon.
4 ConnectTriggers PLASMA BURST / Plasma Burst-style power. Use it to open lanes and hit blockers in a line.
5 ConnectTriggers GRAVITY TRAP / Gravity Trap-style power. T-shapes and other recognized five-tile shapes count.
6 ConnectTriggers MEGA BLAST / Mega Blast-style power. These are strong against clusters and blocked board zones.
7+ ConnectTriggers STAR SURGE, the large 5×5 clear tier. Save these for dense objective areas when possible.
CascadesAfter tiles clear, gravity drops new tiles into place. New matches created by falling tiles score too and can trigger extra effects.
SwapMatchClearDamage TargetsDrop TilesCascadeScore
Power Events & Board-Created Specials
PLASMA BURST

4-Connect

Best for quick lane opening, light blocker damage, and setting up larger shapes.

GRAVITY TRAP

5-Connect

Great for route lanes, vertical progress, and clearing a column through stacked obstacles.

MEGA BLAST

6-Connect

Use against grouped blockers, priority targets, or escort-route choke points.

STAR SURGE

7+ Connect

Large-area clear. Strongest when it overlaps blockers, route trouble spots, caches, or vehicle lanes.

Important: Board-created power events are different from inventory boosters. This matters for objectives that say to finish without boosters.
Blockers, Damage, and Priority Targets
  • Blockers occupy board cells and can prevent tiles from falling, routes from opening, or the escort vehicle from advancing.
  • Make matches adjacent to blockers to damage them. Some blockers need more than one hit before they break.
  • Damaged blockers are usually better targets than untouched blockers because finishing one opens space faster.
  • Priority targets are mission-critical. Clear them before chasing general score so the mission does not stall near the end.
  • Spawner blockers can create reinforcements in later missions. Destroy the spawner itself before the board gets crowded.
Boosters & Tactical Tools
Plasma BurstClears a small line/area effect. Good for opening lanes, hitting route blockers, or finishing light targets.
Gravity TrapStrong column-style clear from 5-connect power. Useful for vertical drops, cache recovery, and stacked blockers.
Mega BlastLarger blast effect. Best for clustered blockers, priority targets, and escort choke points.
SwapSwap a tile with a neighbor without spending a normal move. Best used to force a 4, 5, 6, or 7+ connect.
Clear BeamRemove a tile or damage a blocker directly. Save it for the one piece blocking a route, cache drop, or escort movement.
Clear BeamEarned during a mission by making big connections. Use it to break dense blockers or reopen a stalled mission path.
Clear Beam Meter
  • Clear Beam is earned in-level by making bigger connections.
  • Match-3 clears do not charge the meter.
  • 4, 5, 6, and 7+ connects increase the meter faster based on their size.
  • When the threshold is reached, Clear Beam becomes available for use.
  • After use, the meter resets and mission limits still apply.
Lives, Flux, and Alloy
LivesLives are mission attempts. When you run out, wait for refills or use Flux when continuing matters.
FluxPremium tactical currency used for boosters, continues, refills, and some convenience actions.
AlloyColony Command currency used to build, upgrade, and strengthen your headquarters.
RewardsMission wins, Daily Ops, Weekly Operations, and expeditions can all help feed progression depending on the activity.
Beginner Strategy Checklist
  • Read the objective before your first move. The best score move is not always the best mission move.
  • On blocker missions, match beside blockers first and use power effects where several blockers touch.
  • On Alloy Route, clear the actual route lane instead of random corners.
  • On Evac Rescue, keep the path in front of the vehicle open so it does not stall.
  • On Flux Cache Recovery, open drop and collection lanes early so caches do not get trapped.
  • On Rescue Drop, open the tiles below pods first so they can fall toward the bottom extraction row.
  • On Command Relay, make clears directly above, below, left, or right of each relay tower until every relay is online. Diagonal clears do not charge it.
  • Save Swap and Clear Beam for moves that finish an objective or create a larger pattern.
  • Set up cascades when possible. Falling tiles can create free points and extra power events.
02

Connect Pattern Library

Verified iOS/Android diagrams for the main 4, 5, 6, and 7+ connection types.

⌄
Quick answerUse bigger connects to create stronger board power: 4 = PLASMA BURST, 5 = GRAVITY TRAP, 6 = MEGA BLAST, and 7+ = STAR SURGE. Use the filters to view only the pattern size you need.
4 Connect

PLASMA BURST

Creates a Plasma Burst-style row clear. Best for opening lanes and hitting multiple blockers on one line.

5 Connect

GRAVITY TRAP

Creates a Gravity Trap-style column clear. Great for vertical progress, convoy lanes, and blocker stacks.

6 Connect

MEGA BLAST

Creates a Mega Blast-style 3×3 blast. Use it on dense objectives or grouped blockers.

7+ Connect

STAR SURGE

Creates the larger 5×5 Mega Blast tier. Save these for the most crowded or blocked board areas.

03

Objectives Directory

Required goals, campaign secondary objectives, Daily Ops, and Weekly Operation quests.

⌄
Quick answerObjectives tell you what actually completes the mission or event. Score helps rewards, but required labels like BLOCKERS, ROUTE, FLUX, TRUCK, or RELAY must be completed when shown.
Spawner blockerPriority / SpawnerDestroy mission-critical blockers first.
Route startRouteConnect start and exit lanes.
Flux cacheFluxRecover hidden or revealed caches.
Evac truckTruck / EvacClear ahead of the vehicle.
Online relayRelayBring every relay tower online.
Rescue Drop podPODSExtract every required rescue pod.
Campaign Secondary Objectives
Priority TargetsDestroy every marked priority target before the mission ends. Priority markers can appear on blockers such as crates, sandbags, concrete, gates, bunkers, and spawners, so focus those marked targets before general cleanup.
Mega Blast Attack 6+Create at least one 6-connect MEGA BLAST pattern during the mission.
Mega Blast Attack 7+Create at least one 7+ STAR SURGE pattern during the mission.
Reserve PushWin while preserving enough remaining moves. Avoid wasting moves on clears that do not help the objective.
Silent InfiltrationWin without using inventory boosters. Board-created power effects are the safer way to progress.
Required Mission Goal Labels
BLOCKERSDestroy the required number of blockers.
ROUTE / ConvoyClear a continuous path for the convoy route before moves run out.
FLUXRecover the required Flux caches by clearing or dropping them according to the mission setup.
TRUCK / EscortClear the path and move the escort vehicle to the exit.
RELAY / Command RelayPower every relay tower by clearing tiles directly above, below, left, or right of each relay until all relays are online.
PODS / Rescue DropExtract the required Rescue Drop pods by clearing lanes below them until each pod reaches the bottom extraction row.
Priority TargetBreak the specific marked target or blocker required by the mission.
Boss / Hard MissionComplete a higher-difficulty level that may include tougher blockers, fewer moves, or more complex objectives.
Daily Ops Objectives
Win MissionsComplete the required number of standard missions.
Destroy BlockersBreak the required number of blockers across eligible missions.
Win ExpeditionWin Colony Command expedition battles.
Earn StarsEarn the required total number of mission stars.
Use Plasma BurstActivate Plasma Burst boosters or Plasma Burst-style tactical effects the required number of times.
Use Gravity TrapActivate Gravity Trap boosters or Gravity Trap-style tactical effects the required number of times.
Use Mega BlastActivate Mega Blast boosters or mega blast-style tactical effects the required number of times.
Use Clear BeamUse Clear Beam when it is unlocked and available.
Use Swap BoosterUse Swap boosters to swap tiles directly.
Use Clear Beam BoosterUse the Clear Beam/Delete booster to remove a chosen tile or target.
Secure Alloy RouteComplete Alloy Route / Convoy missions by opening the route.
Recover Flux CachesCollect the required number of Flux caches from Flux Cache Recovery missions.
Complete Evac RescueFinish Evac Rescue / Escort missions by getting the vehicle to the exit.
Complete Command RelayFinish Command Relay missions by bringing every relay tower online.
Complete Rescue DropFinish Rescue Drop missions by extracting every required pod.
Win Hard MissionWin missions classified as Hard.
Win Boss MissionWin boss-level missions when they appear.
Finish Without BoostersWin missions without activating inventory boosters.
Weekly Operation Quests
Win LevelsWin campaign levels to progress the weekly quest.
Beat Medium Or HigherWin missions at Medium difficulty or above.
Beat Hard LevelsWin Hard difficulty missions.
Win Boss MissionsDefeat boss missions during the week.
Secure Alloy RoutesFinish Alloy Route / Convoy missions.
Recover Flux CachesRecover Flux caches from Flux Cache Recovery missions.
Complete Evac RescuesComplete Evac Rescue / Escort missions.
Complete Command RelaysComplete Command Relay missions by powering every relay tower.
Complete Rescue DropsComplete Rescue Drop missions by extracting the required pods.
Destroy Spawner BlockersDestroy spawner blockers that create reinforcements over time.
Claim Daily ObjectivesComplete and claim Daily Ops objectives to advance the weekly quest.
04

Mission Types

How to beat convoy, Command Relay, Rescue Drop, escort, Flux, blocker, and standard levels.

⌄
Quick answerEach mission type has a different priority. Convoy needs route lanes opened, Command Relay needs direct-side clears, Rescue Drop needs open lanes below pods, Evac needs the path ahead of the truck open, Flux needs cache lanes, and Blocker missions need target damage.
Convoy truckConvoy

Alloy Route

Clear the route path so the convoy can move through. Focus blockers and locked cells on the route first, then use row/column clears to open long lanes.

  • Look for blockers sitting directly on the route.
  • Use Plasma Bursts for horizontal lanes and Gravity Traps for vertical lanes.
  • Use Mega Blast/STAR SURGE when several route blockers are clustered together.
Evac rescue truckEscort

Evac Rescue / Vehicle

The truck follows a marked route. It does not move when tapped; it advances after you open the next route cell ahead of it. Treat the lane in front of the truck as the mission priority.

  • Clear blockers, locks, and blocking tiles directly ahead of the truck.
  • Make matches beside the route so they damage the obstacle on the lane.
  • Use Swap, Clear Beam, Mega Blast, or Clear Beam only when it opens the truck path or the exit lane.
Revealed Flux cacheFlux

Flux Cache Recovery

Recover Flux caches by clearing the board around them and driving them toward their collection goal.

  • Open the bottom or collection lanes early.
  • Use vertical clears to drop caches faster.
  • Keep caches from getting trapped behind blockers.
Rescue Drop podPODS

Rescue Drop

Rescue pods enter near the top of the board and must fall to the bottom extraction row. Pods are cargo, not normal match tiles.

  • Clear tiles directly under pods to let them drop.
  • Use column clears, Clear Beam, Mega Blast, STAR SURGE, or Clear Beam to open blocked lanes.
  • Watch the PODS counter until every required pod is extracted.
Command Relay towerRelay

Command Relay

Power every relay tower before moves run out. Relays are fixed board cells, so only clears directly above, below, left, or right of a relay charge it.

  • Start by checking which relay needs the most charge.
  • Make matches on the four direct sides of relay towers instead of clearing far-away tiles.
  • Use Plasma Burst, Gravity Trap, Mega Blast, STAR SURGE, Clear Beam, or Clear Beam when the cleared area hits a direct side of a relay.
Crate blockerSandbag blockerConcrete blockerGate blockerBunker blockerSpawner blocker
Blocker

Destroy Targets

Break the required blockers or marked targets. Work next to blockers whenever possible so normal matches also damage the objective.

  • Target damaged blockers before starting new ones.
  • Use Mega Blasts on dense blocker groups.
  • Destroy spawners before their reinforcement blockers pile up.
Command Relay Full Guide
Core relay rule: Relay towers are fixed board cells. They do not move, swap, match, or drop. Power every relay by clearing tiles on the four direct sides of each tower — top, bottom, left, or right — before moves run out. Diagonal clears do not charge relays.
Inactive Command RelayInactiveNeeds nearby clears.
Charging Command RelayChargingFirst power stage.
Nearly powered Command RelayAlmost OnlineContinue clearing nearby.
Online Command RelayOnlineThis relay is complete.
1. Find every relayScan the board for relay towers first. Each one needs its own charge progress, so do not focus only on the closest relay.
2. Clear the four direct sidesOnly tiles directly above, below, left, or right of a relay charge it. The relay cell itself is not a match tile, and diagonal clears do not count.
3. Use power clears wiselyPlasma Bursts, Gravity Traps, Mega Blasts, STAR SURGE, Clear Beam, and Clear Beam help when their clear area touches the relay zone.
4. Finish all towersA mission is not complete until every relay is online. Score still helps stars and rewards, but relay power is the win condition.
RelayCharge zoneOnlineBlockerPower clear
Relay zone

1. Clear around the tower

+ ++ +

The four direct cells around the relay are the charge zone. Clear the top, bottom, left, or right cell to add relay power; diagonal cells do not count.

Valid move

2. Match beside the relay

+

This match is useful because cleared tiles touch the relay zone. The relay gains charge even though the relay tile itself stays in place.

Power clear

3. Use blasts that touch the zone

💥+ ++ +

A Plasma Burst, Gravity Trap, Mega Blast, STAR SURGE clear, Clear Beam, or Clear Beam counts when the cleared area reaches one of the relay's four direct-side cells.

Blocked relay

4. Remove guards around relays

■+■ ++

Later relay missions can guard towers with blockers or locks. Clear those first so normal matches and power tools can keep charging the relay.

Multiple towers

5. Split attention across relays

++ ++ 💥

Look for moves that touch more than one relay zone. A single clear can help multiple towers if the zones are close enough.

Mission complete

6. Bring every relay online

++ +

Do not stop after the first tower powers up. The win condition is every relay online before the move counter reaches zero.

Valid moves that help power relays

  • Match directly above, below, left, or right of a relay tower.
  • Create a row or column clear that hits a relay's top, bottom, left, or right cell.
  • Use Mega Blast, STAR SURGE, or Clear Beam when the blast reaches a direct-side relay cell.
  • Use Swap to force a match next to the relay instead of clearing far away.
  • Use Clear Beam on a blocker or tile that opens one of the relay's four direct-side spaces.
  • Pick moves that can hit the direct-side cells of two nearby relays at once.

Moves that usually do not help

  • Matching far from every relay while the relay counter is behind.
  • Trying to swap the relay tower itself.
  • Using a booster where its clear area does not touch a relay zone.
  • Only chasing score after one relay is already online.
  • Ignoring blockers or locks that protect the relay area.
Rescue Drop Full Guide
Core Rescue Drop rule: Rescue pods are cargo cells, not normal tiles. They cannot be swapped or matched. Clear the tiles below a pod so gravity can pull it toward the bottom extraction row. When a pod reaches the bottom row, it is secured and the PODS counter increases.
Rescue Drop podRescue PodDrop this cargo to the bottom row.
Rescue Drop secured stampSecuredAppears when pods are extracted.
Gravity Trap boosterColumn ClearsOpen vertical lanes below pods.
Clear Beam boosterClear BeamRemove one blocker or tile in a pod lane.
Clear BeamClear BeamBreak multiple blocked pod lanes at once.
1. Find every podPods usually enter near the top. Check the PODS counter so you know how many total pods must be secured.
2. Clear belowThe cell under the pod matters most. Clear that lane so the pod can fall one or more rows.
3. Keep lanes openBlockers, locks, and trapped tiles under pods slow extraction. Open those vertical lanes early.
4. Finish the full countMore pods can deploy after earlier pods are secured. The mission ends when the PODS counter reaches the required total.
PodOpen laneBlockerPower clearClear Beamion row
Pod lane

1. Clear under the pod

↓

Pods fall when the tile or blocker below them is cleared. Focus the vertical lane under each pod before chasing score.

Blocked lane

2. Break blockers below pods

↓↓

Medium and hard Rescue Drop missions can place blockers under the pod lanes. Clear or blast those blockers so pods can keep falling.

Power clear

3. Use vertical tools

💥 ↓

Gravity Traps, Mega Blasts, STAR SURGE, Clear Beam, and Clear Beam are strongest when they open the same column a pod needs to fall through.

Clear Beamion

4. Reach the bottom row

↓↓ ↓ ↓

When a pod reaches the bottom row, it is secured. The PODS counter increases, and another pod may enter if the objective still needs more.

Valid moves that help extract pods

  • Clear the tile directly below a pod.
  • Break blockers or locks in the same column as a pod.
  • Use Gravity Trap or Clear Beam when the clear crosses a pod lane.
  • Use Clear Beam on the one tile or blocker stopping a pod from falling.
  • Use Mega Blast or STAR SURGE when several pod lanes are blocked together.

Moves that usually do not help

  • Trying to swap or match a pod directly.
  • Clearing far away while a pod lane is blocked.
  • Using a booster where it does not touch any pod lane.
  • Chasing score while the PODS counter is behind.
  • Leaving bottom-row blockers in place until the final moves.
Evac Rescue Truck Movement Full Guide
Core evac rule: The truck does not move because you tap it. The truck advances only when the route cell in front of it is open. Your job is to keep clearing the route ahead until the truck reaches the exit.
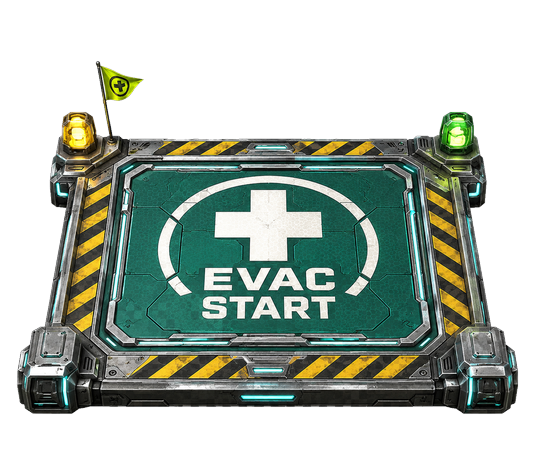
Evac truckEvac VehicleMoves only when the next route cell is open.
Evac start padStart PadWhere the rescue route begins.
Route LaneClear the light-green highlighted path.
Evac exitExitReach the final evac marker.
Stalled truckStalledThe path ahead still needs work.
1. Look aheadThe next route cell in front of the truck matters most. If it is blocked, locked, or filled by an obstacle, clear that cell first.
2. Match beside the obstacleMatches next to a route blocker damage it. Matching far away may score points, but it will not move the truck.
3. Open the laneOnce the next route cell is clear, the truck can advance along the path. Keep clearing ahead, not behind.
4. Save tools for choke pointsUse Swap, Clear Beam, Mega Blast, and Clear Beam when one cell is stopping the entire route.
TruckRouteBlockerLockPower toolExit
Route blocked

1. Find the next route cell

🚚→■→→★

The highlighted route cell is the choke point. A match beside the blocker is a valid move because it damages what is stopping the truck.

Valid move

2. Match beside the blocker

🚚→■→→★

This is a helpful move because the match touches the route blocker. It damages the obstacle and opens the path sooner.

Valid move

3. Use a vertical clear on the lane

🚚→■→→★

A vertical match, Gravity Trap, or column-style clear is useful when it crosses the route lane or hits the blocker sitting on the path.

Lock trouble

4. Unlock cells before the truck arrives

🚚→🔒■→★

If a locked tile is on the route, treat it like the next obstacle. Clear next to it or hit it with a power tool before the truck reaches it.

Power tool

5. Use tools on choke points

🚚→■→★ 💥

Clear Beam, Mega Blast, STAR SURGE, or Clear Beam are best when one blocker is stopping the whole route. Do not spend them on open areas away from the lane.

Exit lane

6. Finish the lane to the exit

🚚✓★

Near the exit, stop chasing general score. Clear the final route cells so the truck can complete the mission before moves run out.

Valid moves that help move the truck

  • Match directly on the route cell in front of the truck.
  • Match beside a blocker or locked tile on the route.
  • Create a 4-connect, 5-connect, Mega Blast, or STAR SURGE that overlaps the route lane.
  • Use Swap to create a match that touches the blocker or clears the next route cell.
  • Use Clear Beam on the one obstacle blocking the next step.
  • Use Clear Beam when its rows or columns cross the truck path.

Moves that usually do not help

  • Matching behind the truck after it has already passed that cell.
  • Clearing random corners while the next route cell is blocked.
  • Using a booster away from the marked route lane.
  • Chasing score when the truck is one blocker away from moving.
  • Making a big combo that does not touch the route, exit lane, or current obstacle.
05

Blockers, Tiles & Obstacles

What blocks progress and how to remove each obstacle type.

⌄
Quick answerBlockers stop progress by filling cells, blocking routes, or protecting objectives. Match beside blockers or use power tools where multiple blockers are grouped together.
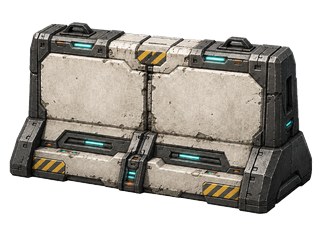
Crate blockerCrateLight blocker.
Sandbag blockerSandbagsLight blocker.
Concrete blockerConcreteMedium blocker.
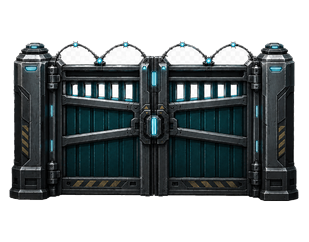
Gate blockerGateMedium blocker.
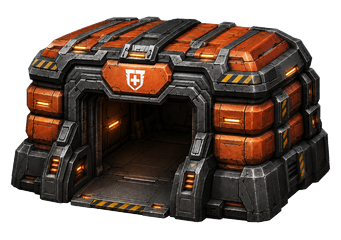
Bunker blockerBunkerHeavy blocker.
Spawner blockerSpawnerCreates reinforcements.
Crate blockerSandbag blocker

Crates & Sandbags

Light blockers. Remove these quickly when they sit on convoy routes or escort paths.

Concrete blockerGate blocker

Concrete & Gates

Medium blockers. They may require multiple hits and often show damaged states before breaking.

Bunker blocker

Bunkers

Heavy blockers. Use Mega Blasts, STAR SURGE, Clear Beam, and cascades to avoid wasting too many moves.

Locked tile

Locked Tiles

Locked cells cannot be swapped until affected by clears. Open them early to restore board movement.

Spawner blocker

Spawner Blockers

Spawner blockers can create reinforcements over time. Destroy the spawner itself to stop new blockers.

Relay tower

Relay Towers

Command Relay towers are fixed mission cells. They do not swap or match, and only clears in the four direct-side cells charge them.

Rescue Drop pod

Rescue Pods

Rescue Drop pods are cargo cells. They cannot be swapped or matched; clear the lane below them so they can fall to the bottom extraction row.

Priority crate targetPriority sandbag targetPriority concrete targetPriority gate targetPriority bunker targetPriority spawner target

Priority Targets

Any marked blocker or mission target can be a priority target. This includes crates, sandbags, concrete, gates, bunkers, and spawners. Break marked priority targets before general cleanup so the objective does not fall behind.

06

Boosters & Power Tools

When to use Plasma Burst, Gravity Trap, Mega Blast, Swap, Clear Beam, and Lives.

⌄
Quick answerSave boosters for mission progress, not random score. Swap should force a better match, Clear Beam should remove the single problem tile, and Mega Blast should hit dense objective areas.
Plasma Burst boosterPlasma BurstRow clear booster.
Gravity Trap boosterGravity TrapColumn clear booster.
Mega Blast boosterMega Blast3×3 blast booster.
Swap boosterSwapSwap two neighboring pieces.
Clear Beam boosterClear BeamRemove a chosen tile or damage a target.
LivesLivesExtra mission attempts.
Plasma Burst booster

Plasma Burst

Clears a row. Best for opening horizontal lanes and hitting multiple blockers in one row.

Gravity Trap booster

Gravity Trap

Clears a column. Best for vertical drops, convoy lanes, and stacked blockers.

Mega Blast booster

Mega Blast

Clears a 3×3 blast zone. Strong against grouped blockers and clustered objectives.

Swap booster

Swap

Swaps a tile with a neighbor without spending a normal move. Use it to force a 4, 5, 6, or 7+ pattern.

Clear Beam booster

Clear Beam

Removes a chosen tile or damages a target. Use it for the single obstacle that blocks progress.

Life icon

Lives

Lives are mission attempts. Use refills carefully when you are close to a win or a limited-time objective.

Flux icon

Flux

Flux supports boosters, continues, refills, and tactical support. Spend it when it directly wins a mission.

07

Colony Command & Expeditions

How Command Core, structures, upgrades, pair bonuses, expeditions, cooldowns, and rewards work together.

⌄
Quick answerUpgrade Command Core when your structures hit the level cap, then upgrade the systems that improve the stat you need most. Signal Array + Meteor Cannon improves Power through Signal Precision; Drone Bay + Cargo Depot improves Alloy through Logistics.
Command CoreCommand CoreRaises the upgrade cap.
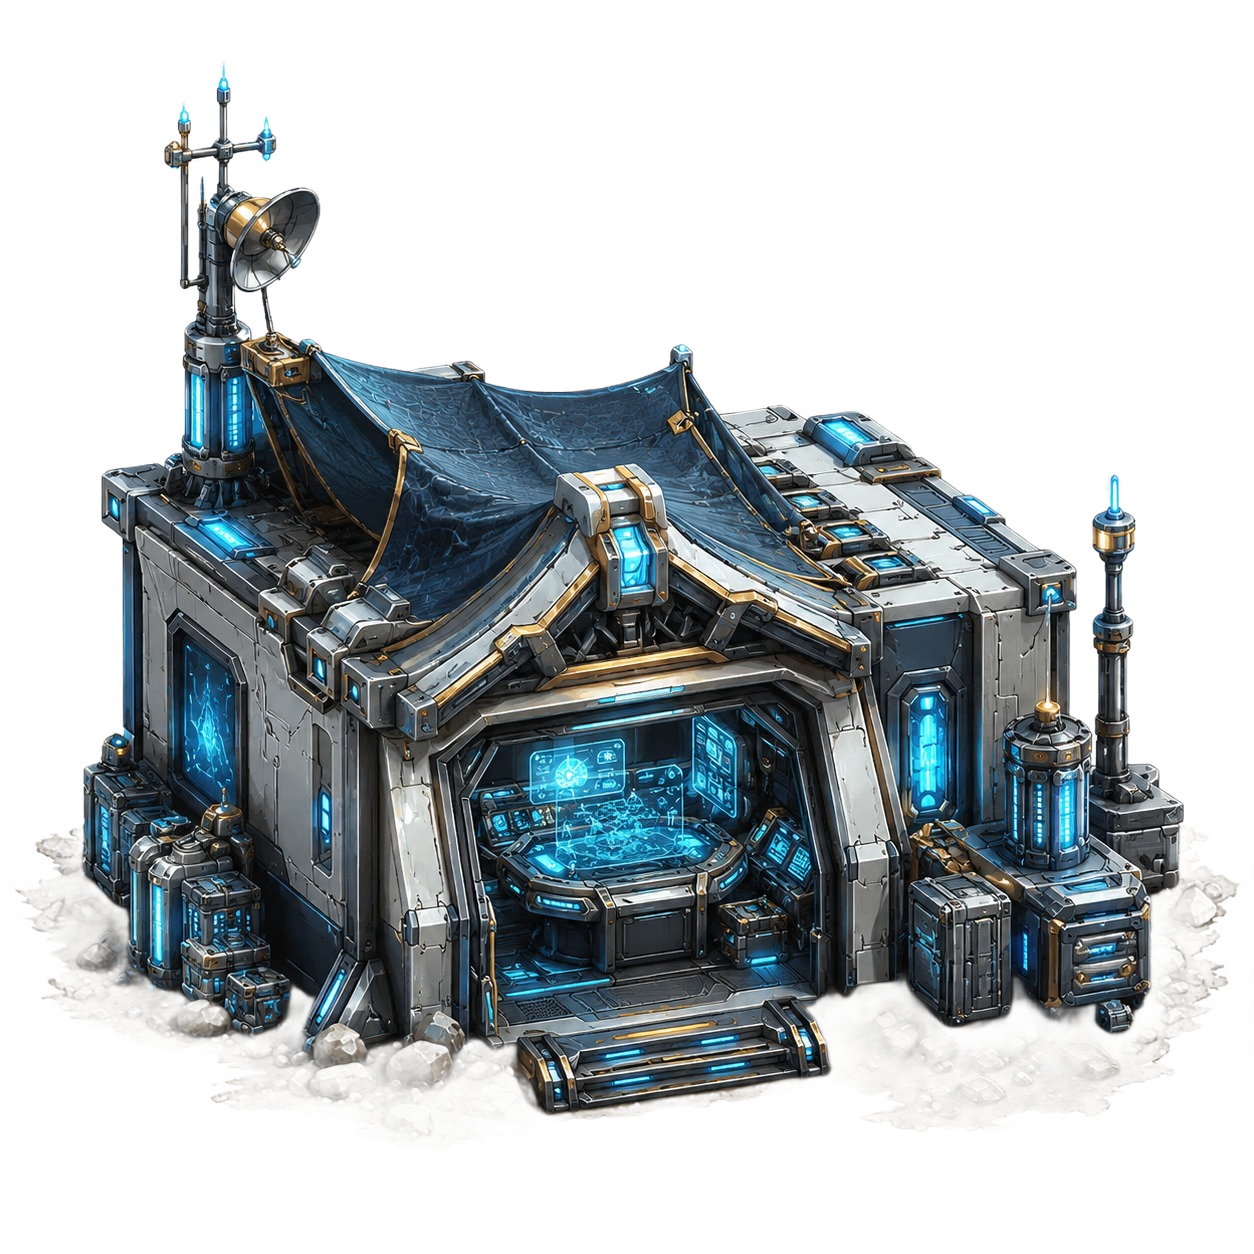
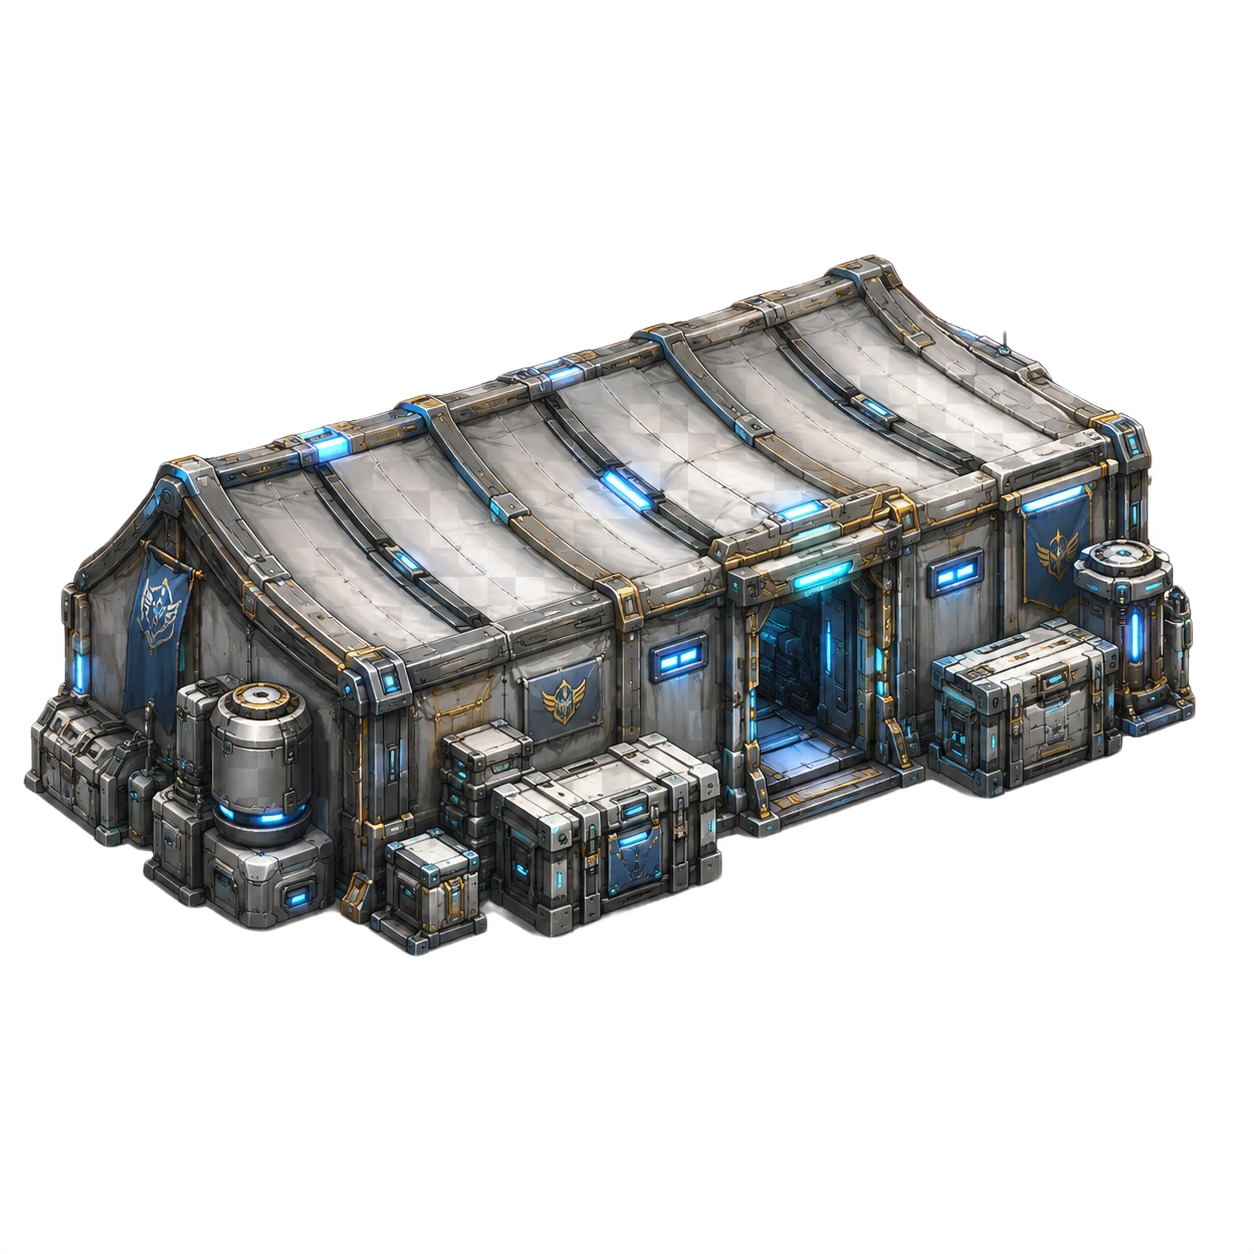
Shield WallShield WallsEarly Shield.
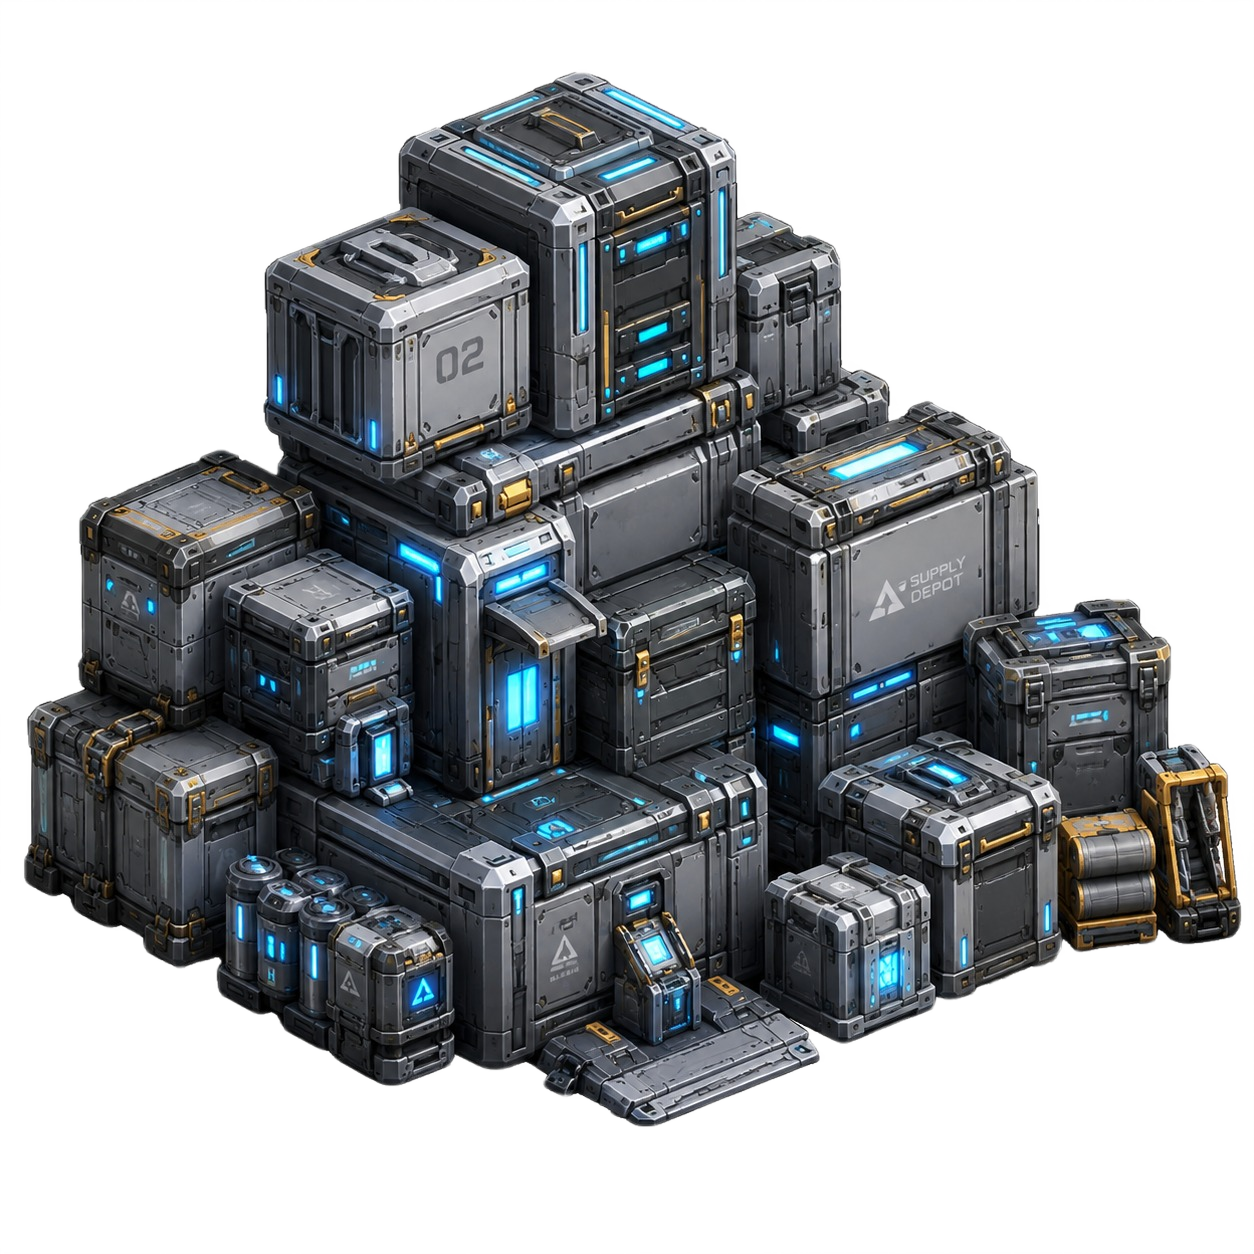
Cargo DepotCargo DepotImproves Alloy rewards.
Drone BayDrone BayAdds expedition Power.
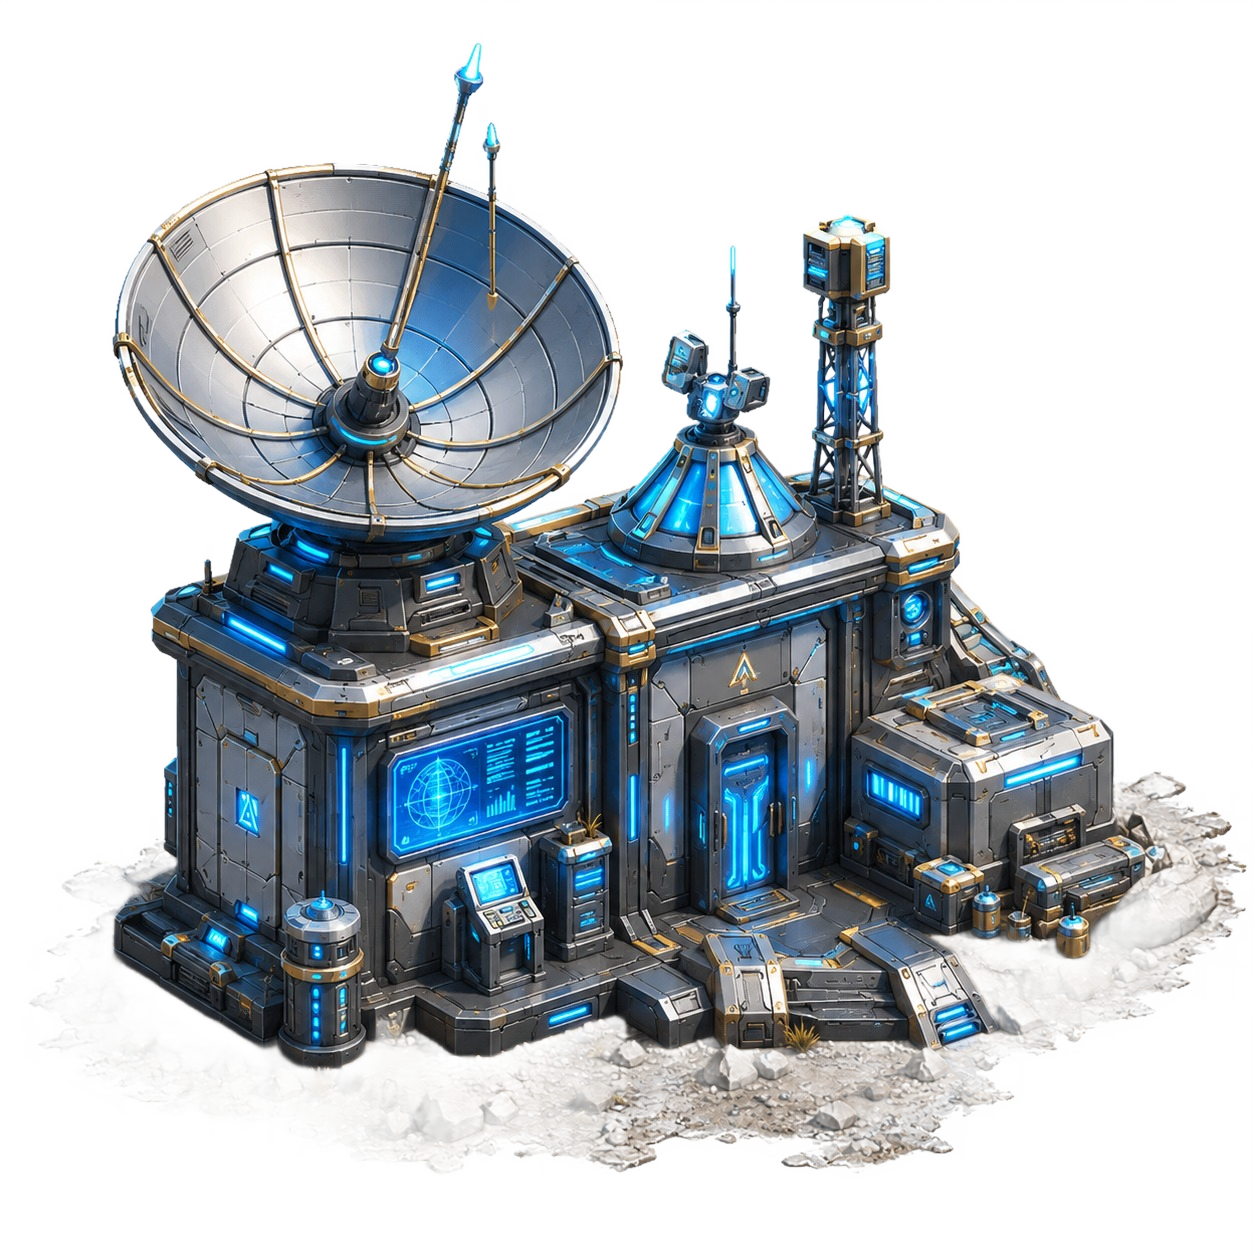
Signal ArraySignal ArrayBoosts turret and sky-defense value.
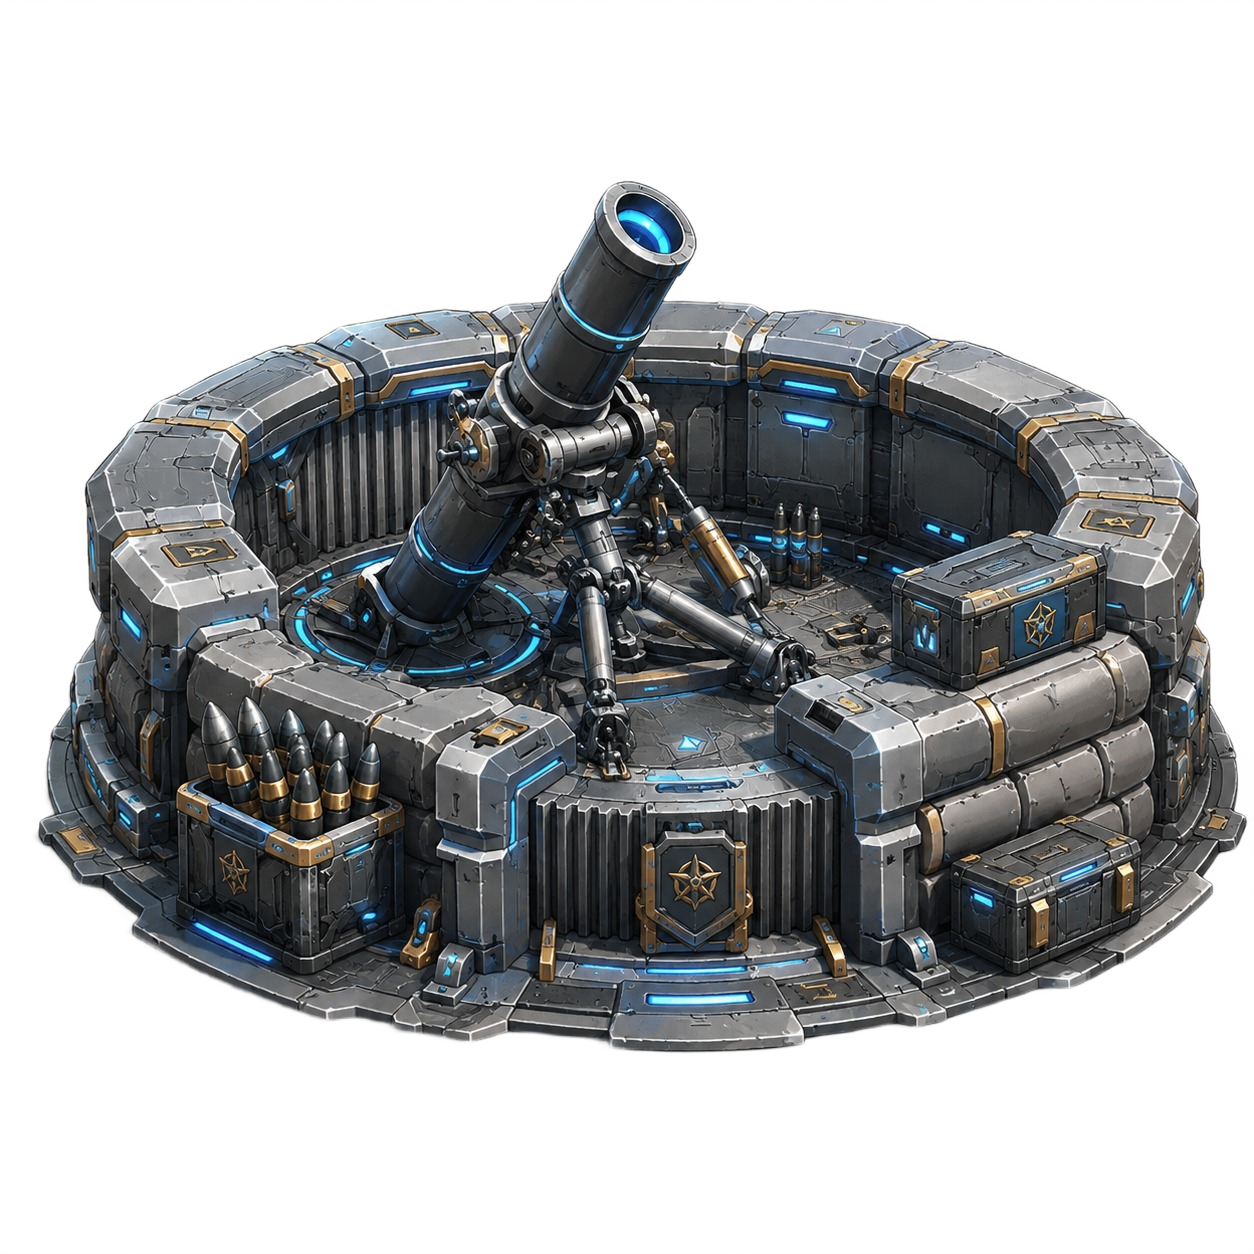
Meteor CannonMeteor CannonPairs with Signal Array.
Command CoreCommand Core

Command Core Controls Your Colony

Your Command Core level sets the structure upgrade cap. If your Command Core is Level 3, normal structures can be upgraded up to Level 3. Upgrade Command Core to raise that cap, unlock higher structure levels, and improve expedition strength.

Shield Wall structureBuild

Place Structures

Choose an unlocked structure, place it on an open grid space, and spend the listed Stars and Alloy. Buildings cannot overlap the Command Core or each other.

Power Plant structureUpgrade

Improve Structures

Tap a placed structure to see its current level, next upgrade cost, and stat preview. If you have enough Stars and Alloy, upgrade it to increase its effect.

Alloy rewardsExpeditions

Survey, Salvage, Derelict

Expedition options compare your Power against enemy shields. Safer fights usually pay less; riskier fights can pay more but may cause heavier cooldowns.

Colony Command Upgrade Flow
1. Earn resourcesStars come from campaign performance. Alloy come from Colony Command activity, expedition rewards, Daily Ops, and other reward sources.
2. Build unlocked structuresEach build card shows the campaign level requirement, Command Core requirement, Star cost, Alloy cost, and first-level effect.
3. Upgrade Command CoreTap the Command Core and use Stars + Alloy to raise the core level. Command Core level raises the structure level cap and can unlock new systems.
4. Upgrade structuresTap a placed building and upgrade it. Structures cannot normally upgrade beyond your current Command Core level.
5. Pair the right buildingsSome bonuses activate only when both paired structures are built. Upgrade both sides of the pair to increase the bonus.
6. Expedition, cooldown, repeatUse stronger Power and Shield to win expeditions, collect Alloy, gain rank progress, and keep upgrading the base.
Tip: You do not have to keep a building in one spot forever. Placed structures can be moved to a valid open space without losing level. Removing a structure refunds its invested Stars and Alloy.
Command Core Upgrades and Structure Level Cap
  • Command Core starts at Level 1 and can be upgraded up to Level 10.
  • Your Command Core level is also the normal maximum level for placed structures.
  • Example: Command Core Level 4 allows structures to upgrade to Level 4. To push structures to Level 5, upgrade Command Core to Level 5 first.
  • Command Core upgrades cost Stars and Alloy, so do not spend every resource on small structures if the Command Core is blocking your next upgrade tier.
  • Command Core upgrades also improve expedition Power, so core progress helps both building upgrades and expedition performance.
Command Core 215 Stars + 60 Alloy
Command Core 332 Stars + 140 Alloy
Command Core 455 Stars + 260 Alloy
Command Core 585 Stars + 420 Alloy
Command Core 6110 Stars + 620 Alloy
Command Core 7150 Stars + 880 Alloy
Command Core 8200 Stars + 1,200 Alloy
Command Core 9260 Stars + 1,600 Alloy
Command Core 10330 Stars + 2,100 Alloy
What Each Base Stat Means
ShieldYour colony strength. Shield Walls, Shield Bunkers, Pulse Turrets, Ion Cannons, Meteor Cannons, Gravity Fields, and Skyguard Arrays increase Shield. Higher Shield helps protect Astra Haven from counterstrike pressure.
PowerYour expedition strength. Command Core level, Drone Bay, rank progress, part of your Shield, and Signal Precision can increase Power.
AlloyThe main Colony Command building currency. Cargo Depot and Logistics bonuses increase Alloy rewards from expeditions.
FluxPremium tactical currency used for boosters, continues, and cooldown buyouts. Riskier successful expeditions can pay more Flux than safe overmatch expeditions.
StarsSpendable campaign progress used for construction, Command Core upgrades, and structure upgrades.
Star FragmentsExpedition rewards can add fragments. Fragments convert into spendable Stars when enough are collected.
Building Roles and Unlocks
Shield WallUnlocks at campaign Lv 5 and Command Core 1. Low-cost Shield. Useful for early Shield and filling open colony space.
Pulse TurretUnlocks at campaign Lv 5 and Command Core 1. Adds turret Shield and benefits from Signal Array once Signal Array is built.
Cargo DepotUnlocks at campaign Lv 8 and Command Core 2. Increases Alloy rewards from expeditions. Pairs with Drone Bay for Logistics.
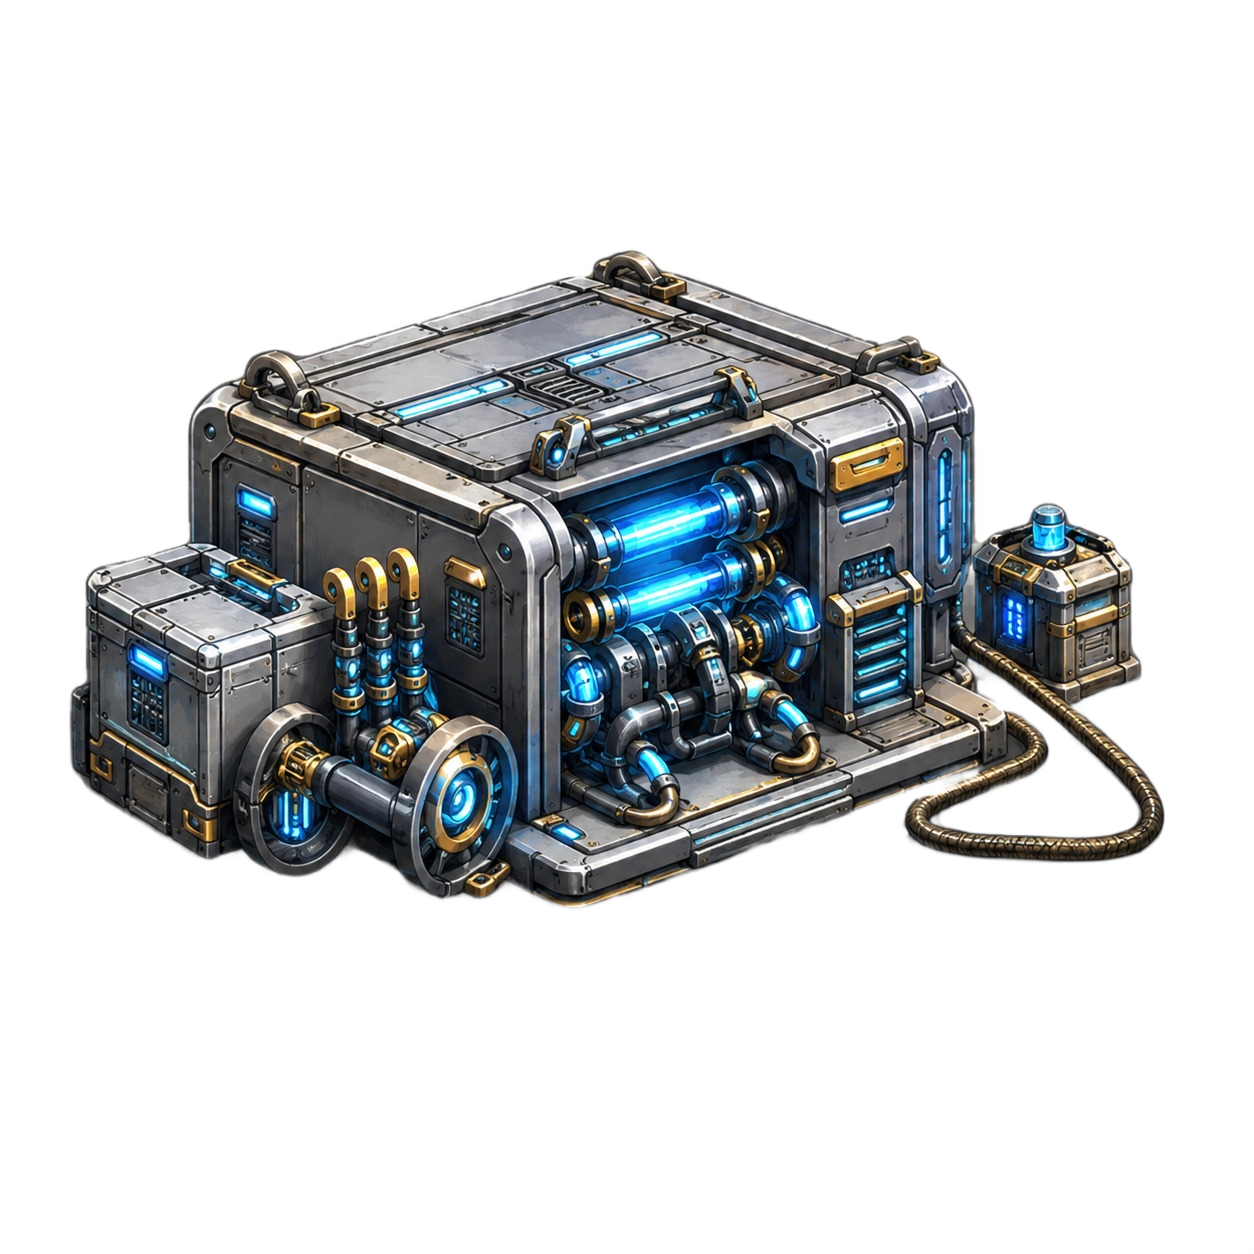
Power PlantUnlocks at campaign Lv 8 and Command Core 2. Boosts total colony Shield, making every defensive structure more valuable.
Drone BayUnlocks at campaign Lv 10 and Command Core 2. Adds Power for expeditions. Pairs with Cargo Depot for Logistics.
Ion CannonUnlocks at campaign Lv 12 and Command Core 2. Adds turret Shield and benefits from Signal Array.
Gravity FieldUnlocks at campaign Lv 12 and Command Core 2. Adds Shield and helps strengthen the colony against expedition pressure.
Meteor CannonUnlocks at campaign Lv 14 and Command Core 2. Adds turret Shield, benefits from Signal Array, and pairs with Signal Array for Signal Precision.
Signal ArrayUnlocks at campaign Lv 16 and Command Core 3. Boosts turret and sky-defense Shield. Pairs with Meteor Cannon for Signal Precision.
Shield BunkerUnlocks at campaign Lv 18 and Command Core 2. Heavy 2×2 defensive structure with strong Shield value.
Skyguard ArrayUnlocks at campaign Lv 20 and Command Core 3. Adds turret/sky-defense Shield and benefits from Signal Array.
Unlock rule: A structure can require both a campaign level and a Command Core level. If either requirement is missing, the build card stays locked.
Pair Bonuses: What Pairs With What
Signal ArrayMeteor Cannon
Power Pair

Signal Array + Meteor Cannon

This activates Signal Precision, which boosts expedition Power. Upgrade both Signal Array and Meteor Cannon because the pair uses the lower level of the two structures.

  • Level 1 pair: +4% Power
  • Level 5 pair: +12% Power
  • Level 10 pair: +22% Power
Drone BayCargo Depot
Alloy Pair

Drone Bay + Cargo Depot

This activates Logistics, which boosts Alloy rewards. Upgrade both Drone Bay and Cargo Depot because the pair uses the lower level of the two structures.

  • Level 1 pair: +5% Alloy
  • Level 5 pair: +14% Alloy
  • Level 10 pair: +25% Alloy
Important: Pair bonuses do not require special placement next to each other. The pair is active when both structures exist in your colony. Level balance matters more than physical location.
How To Increase Shield, Power, Alloy, and Expedition Rewards
Increase ShieldBuild and upgrade defense structures. Add Power Plant to boost total Shield. Add Signal Array to boost turret and sky-defense Shield from Pulse Turret, Ion Cannon, Meteor Cannon, and Skyguard Array.
Increase PowerUpgrade Command Core, upgrade Drone Bay, increase Shield, win expeditions to improve rank, and activate Signal Precision with Signal Array + Meteor Cannon.
Increase AlloyUpgrade Cargo Depot, activate Logistics with Drone Bay + Cargo Depot, and choose expedition targets that pay better rewards.
Increase FluxFlux rewards are risk-weighted. Overmatch expeditions are safer but can pay little or no Flux. Contested, Risky, and Desperate wins can pay more.
Increase Win ChanceRaise Power before attacking tougher bases. Use Survey when rebuilding, Salvage for balanced progress, and Derelict when your Power can handle the enemy shields.
Reduce Cooldown PressureRaise Shield before taking risky expeditions. Higher Shield helps limit counterstrike damage and cooldown time after expedition outcomes.
Expedition Forecasts, Difficulty, and Cooldowns
SurveyLowest risk and lower reward. Good when your base is still growing or cooldowns are a concern.
SalvageBalanced expedition option. Good for steady Alloy when your Power and the enemy shields are close.
DerelictHighest risk and higher reward. Best when your Power is strong enough and your Shield can absorb counterstrike pressure.
Forecast LabelsOvermatch and Advantage are safer but usually lower loot. Contested is balanced. Risky and Desperate can pay more but are more dangerous.
Final Power / Final ShieldThe expedition recap shows the final Power and enemy shields used for the fight, including battlefield conditions and the chosen expedition difficulty.
CooldownsAfter expeditions, Colony Command may enter a cooldown. Wins usually have a shorter cooldown; defeats and harder expeditions can create longer cooldown pressure.
Forecast reminder: A favorable forecast is not a guarantee. A risky expedition can still win, and an advantage expedition can still turn against you.
Recommended Upgrade Priorities

Strong upgrade path

  • Upgrade Command Core when structures are stuck at the current cap.
  • Keep one or two core Shield structures upgraded so expeditions do not punish your base.
  • Build Cargo Depot early once available so expeditions start paying better Alloy.
  • Add Drone Bay to improve Power and unlock the Logistics pair with Cargo Depot.
  • Add Meteor Cannon + Signal Array later to unlock Signal Precision and improve Power for harder expeditions.
  • Upgrade both sides of a pair instead of pushing only one side far ahead.

Common mistakes

  • Ignoring Command Core upgrades, which blocks all structure upgrades past the Command Core level.
  • Only chasing Power while leaving Shield too low for expedition counterstrikes.
  • Building Signal Array before you have enough turret/sky-defense value to boost.
  • Upgrading one paired building far higher while the other pair member stays low.
  • Running Derelict expeditions just because the reward looks high.
  • Spending all Alloy before saving for the next Command Core upgrade.
FAQ

Common Questions

Fast answers for the problems players usually search for first.

⌄
Quick answerStart here when something does not move, charge, unlock, or upgrade. These are short answers that point users to the right full section.
Why did my truck not move?The Evac truck advances only when the next route cell in front of it is open. Clear the blocker, lock, or tile on the route ahead first.
Why did my relay not charge?Relay towers charge only from clears directly above, below, left, or right of the relay. Diagonal clears, far-away matches, and trying to swap the relay itself will not help.
How do I upgrade Command Core?Open Colony Command, tap Command Core, and spend the required Stars and Alloy. Command Core upgrades raise the level cap for other structures.
Why can’t I upgrade a building?Your Command Core level may be too low, the structure may be locked by campaign progress, or you may need more Stars or Alloy.
What should I use Swap for?Use Swap to force a stronger 4, 5, 6, or 7+ connect or to create a match beside the mission objective.
What should I use Clear Beam for?Use Clear Beam on the one tile, blocker, or obstacle stopping the objective, route, cache, relay, or truck path.
Which Colony Command pair helps expeditions?Signal Array + Meteor Cannon activates Signal Precision for Power. Drone Bay + Cargo Depot activates Logistics for Alloy.
Why is score not enough?Some missions require blockers, route, Flux, truck, relay, pods, or priority targets. Complete the required mission label before chasing extra score.
Why did my rescue pod not drop?Pods drop only when the lane below them opens. Clear the tile, blocker, or lock directly underneath the pod so gravity can move it toward extraction.
08

Strategy Checklist

Quick reminders before and during hard missions.

⌄
Quick answerBefore spending a move or booster, ask what is stopping the win. Target the route, relay, truck path, cache lane, blocker, or Command Core upgrade that directly unlocks progress.
Objective icon

Before the First Move

  • Read the required mission and secondary objective.
  • Identify convoy lanes, escort paths, Flux caches, blockers, spawners, and priority targets.
  • Look for a 4 or 5-connect setup before spending boosters.
  • Save Mega Blasts and STAR SURGE for dense objective zones.
Swap boosterClear Beam boosterClear Beam booster

When You Are Stuck

  • Make matches beside blockers instead of clearing empty areas.
  • Use Swap to force a big connect instead of making a weak match.
  • Use Clear Beam on the one obstacle stopping the win, pod lane, route, or relay charge.
  • Use Clear Beam when many required tiles or blockers line up.